


Upon reflection, I discovered that many of my hours are whiled away on sites like Pinterest, where I tell myself, “I’ll just look at a couple pins,” but end up scrolling through the whole days’ feed.
I decided it was high time I did something about it. Since I couldn’t get myself to stop getting on Pinterest, I would try the things I pinned to see if they actually turned out.
So I started with this: Braided Crown Tutorial
I have a whole board on Pinterest dedicated to braids. Braids, braids, braids. I just can’t seem to get enough of them. I started with something simple – the crown braid.
If you watch the video, it seems simple enough: braid back a chunk of hair on both sides of your head, separate the braid to make it thicker, pin both of them back, tucking extra pieces behind braids.
The first part was easy. I think I’m a decent braid-er so braiding back two chunks of my hair on either side of my part was fairly simple. The next step, however, posed some difficulties. In the video, she easily pulls up the edges of the braids to spread them out. I don’t know what I was doing, but this step was just not working for me. Maybe it was just my hair (which, granted was slightly dirty…hem hem), but when I attempted this, my braids seemed to just come apart in my hands.
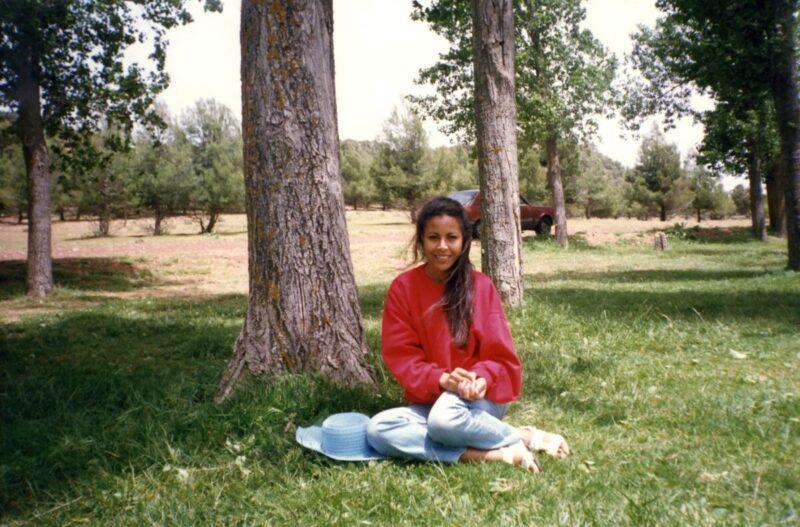
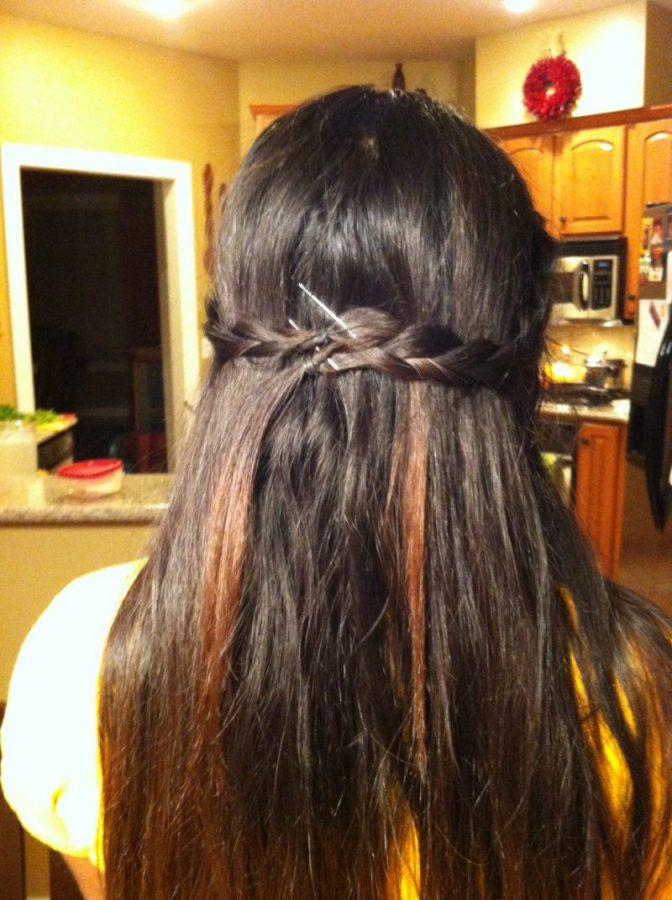
Because of it’s lack of a-washing, my hair seemed extra slick and my braids didn’t seem to spread out. After pulling up both sides of the braids, they seemed to look a little better, so I powered through. They looked a little like this:
Once this was done, the rest seemed easy: just pin the braids back. Well first of all, it took me forever to find a good place on the pack of my head to pin the braids so that they wouldn’t just slip out. The texture of my hair was such that the bobby pins would just slip out when I tried to pin the braids back.
Perhaps, girls with curly hair would have more success with this ‘do.’ I had to use an extra bobby pin to finally secure the braids, but even then, they just didn’t look right. The pulling apart step was useless because after a few minutes, my braids just went back to the way they originally were- skinny and limp. Maybe it’s due to the fact that the tips of my hair are dyed a lighter color, but my braids did not blend in with the rest of my hair well, not to mention my bobby pins and rubber bands were super noticeable.
So overall, I would not say that this attempt was a success. Moral of the story: the girls in the videos always make it look so easy, but that is false advertising.
Will this stop me from wasting time on Pinterest? Heck no.
By Trisha Chaudhary


Afsah Khan • Oct 19, 2012 at 6:44 pm
This is so cute! I love how you came up with such a unique blog idea. But I absolutely understand your pain. I’m impressed that you actually were able to pull off the hairstyle beautifully. I usually just give up after a minute of frustration 🙂