


In the world of fashion, naturally, colors are popping up everywhere. Whether on the runway, in local stores or on people themselves, I’ve been instantly drawn to the vibrant colors displayed that epitomize the new spring season we have just dived into. However, rather than looking to splash some color into my wardrobe, I decided to try adding variety somewhere a little different.
And where did I go for inspiration? You guessed it, Pinterest was my way to go. Scrolling through the various pins, I finally came across an idea I deemed simple enough to give a shot. After the drying winter months, my lips were seriously begging for at least some attention. In this DIY project, I made a tinted lip balm that will be perfect for that subtle pop of color, along with some much need moisturization.
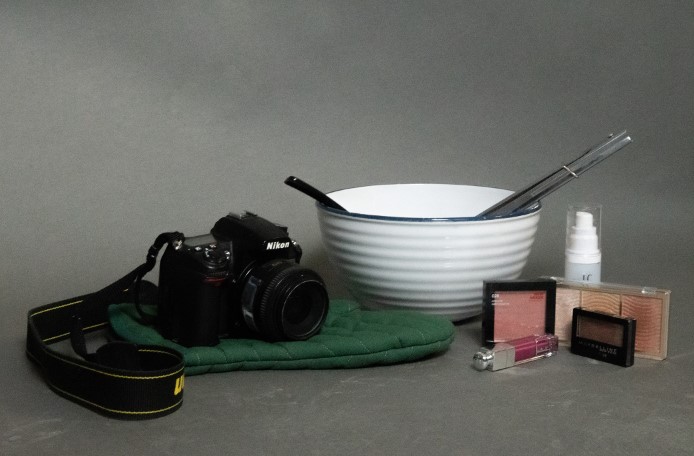
To make this lip balm, gather the following:
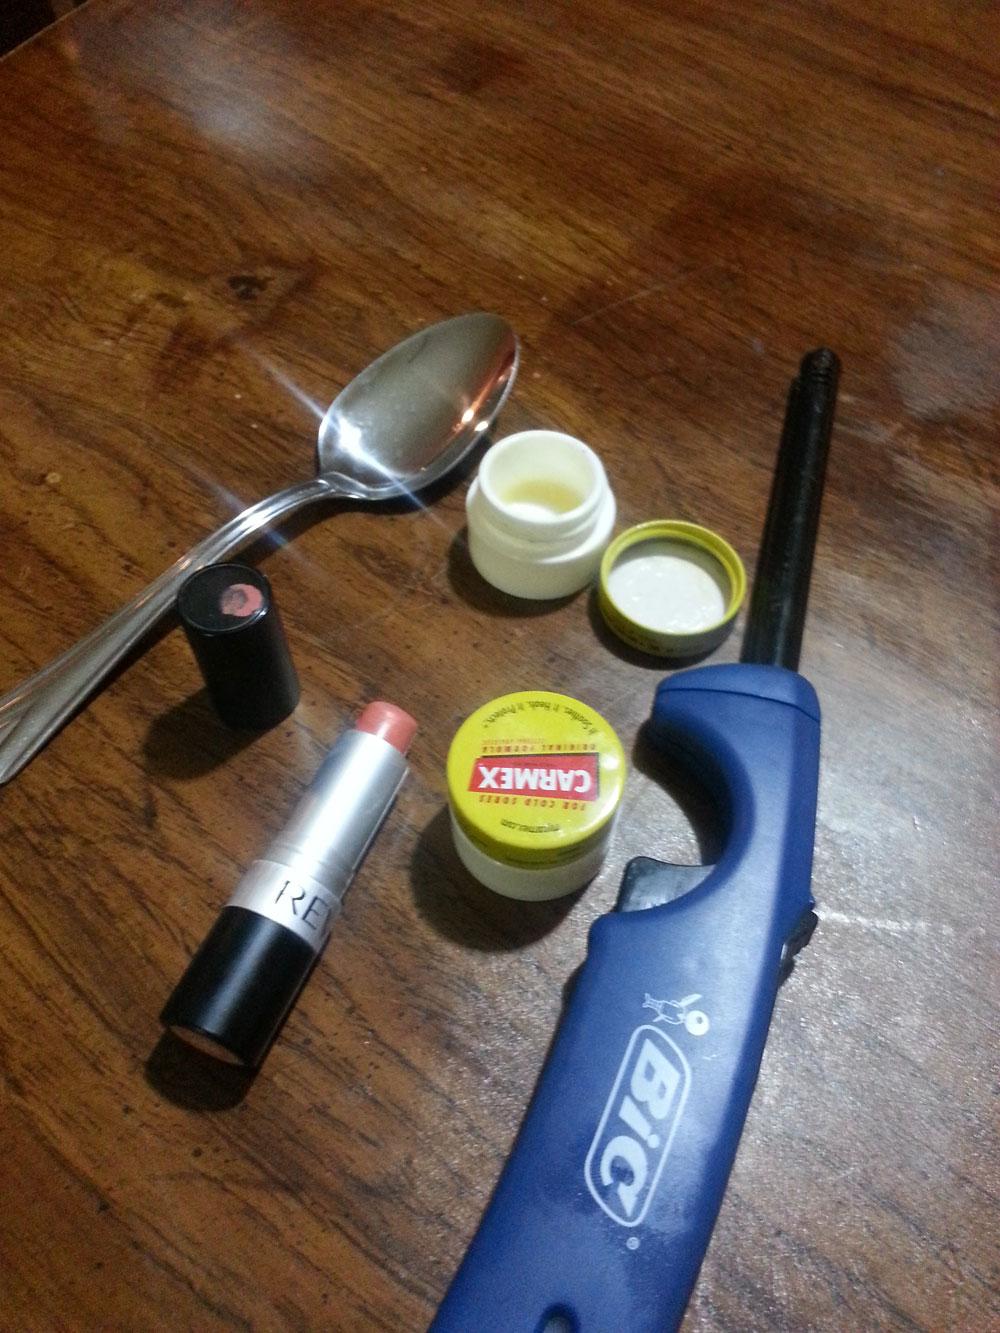
Tube of lipstick in your choice of color
Empty container (I used a Carmex jar, but you could use an old contact lens case as well)
Vaseline or Carmex (I used Carmex)
Lighter
Spoon
Butter knife
Now, to create your DIY:
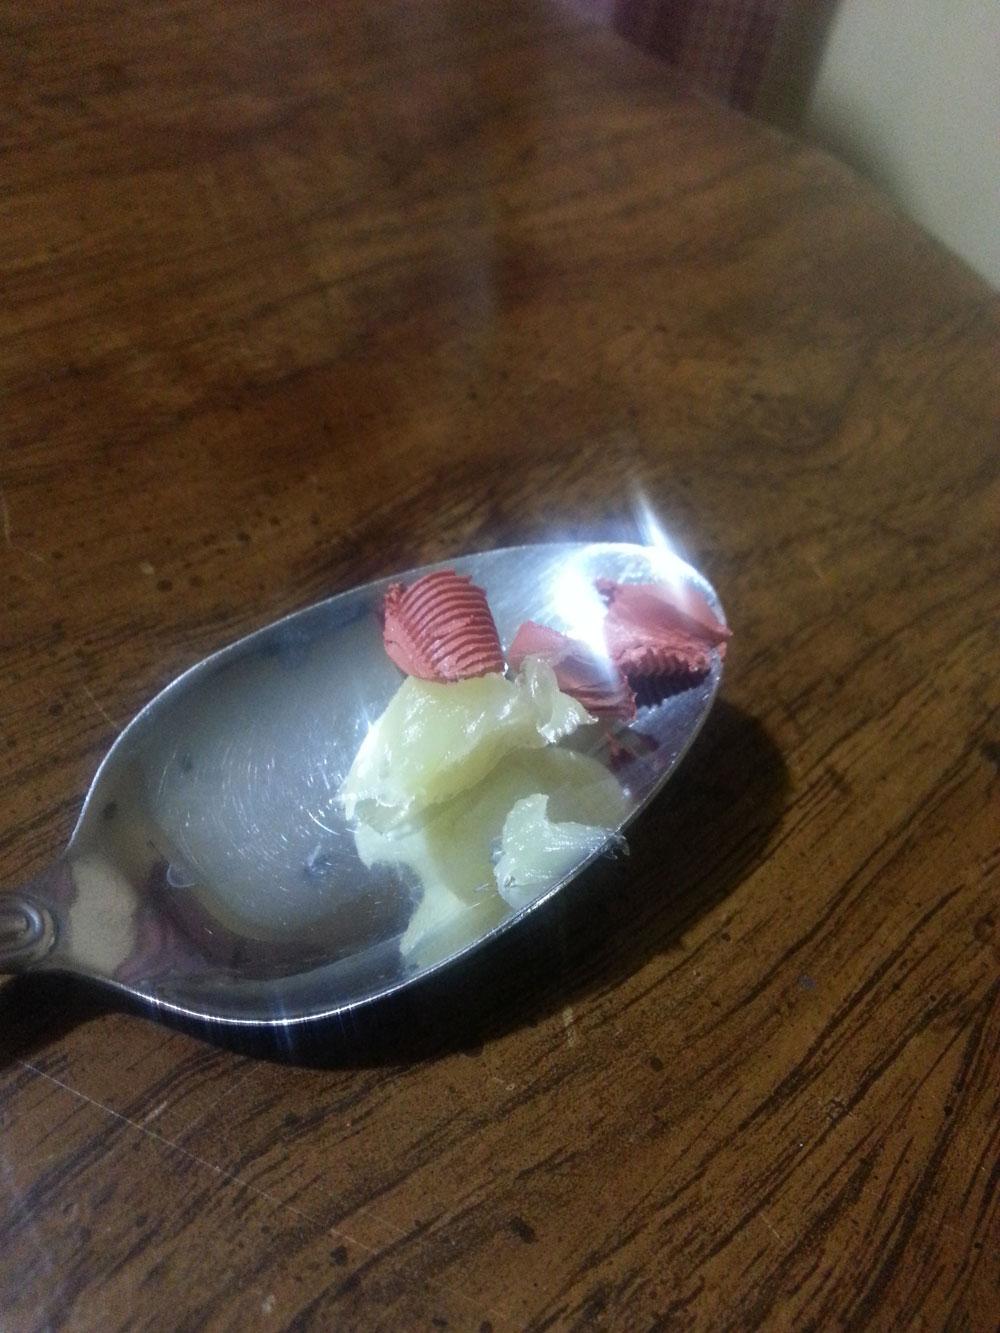
1. Take your butter knife, scoop out a small amount of Vaseline or Carmex and place the plain lip balm onto your spoon. After that, slice another small amount of the lip stick and place that onto the spoon as well. Keep in mind, the more Carmex and lipstick you use, the more product you will get. Just be sure not to use too much, so it doesn’t spill off of your spoon.
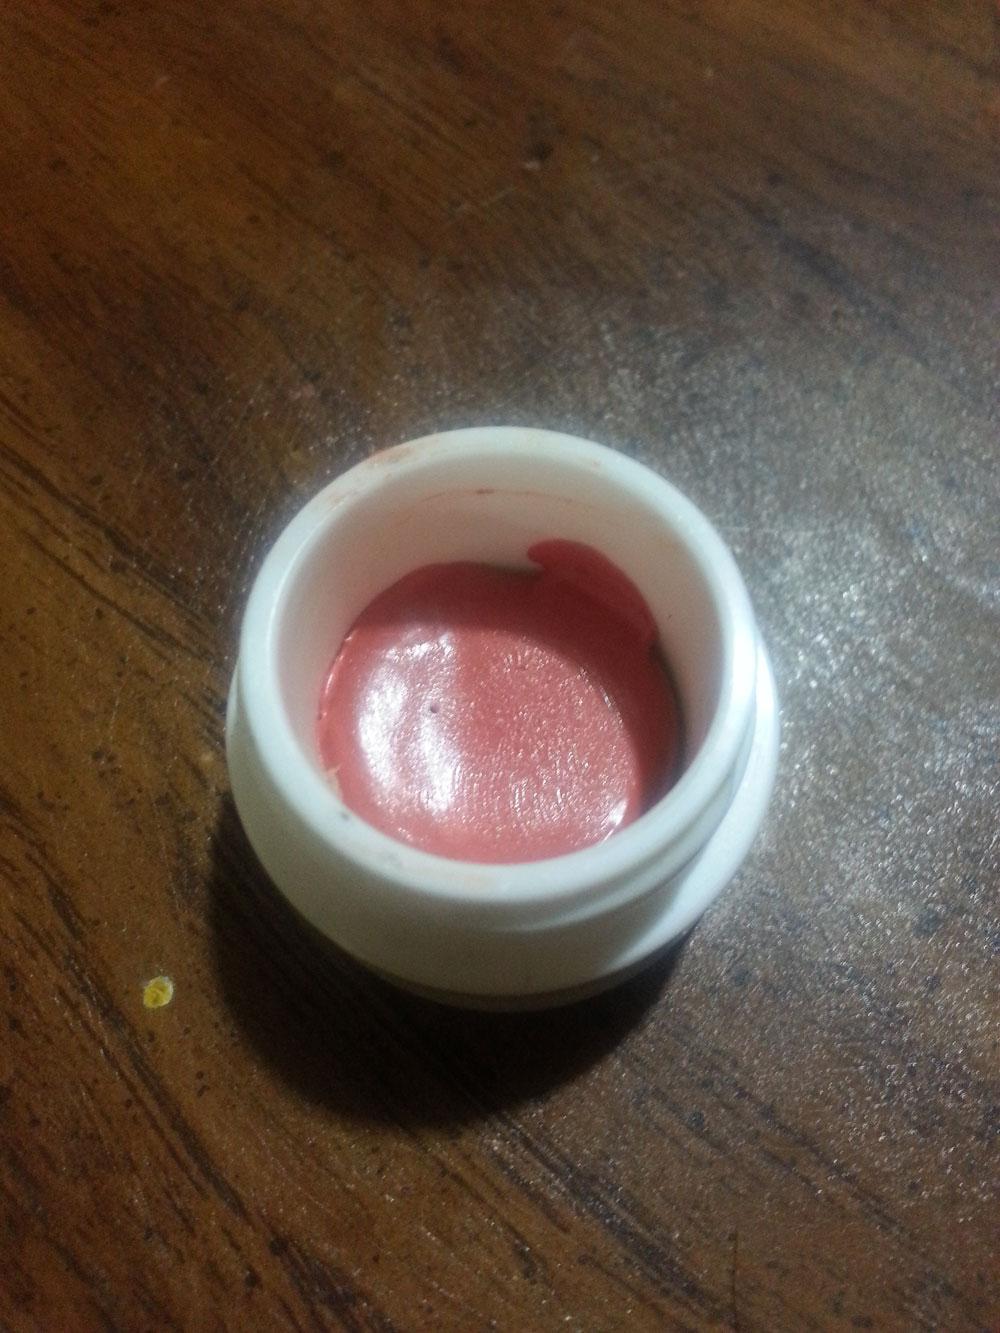
3. Wait until all of the products melt together, after about a minute. If the mixing process isn’t really working very well, I recommend using a toothpick to really blend both ingredients. After everything is all melted together, go ahead and carefully pour the mixture into your empty container.
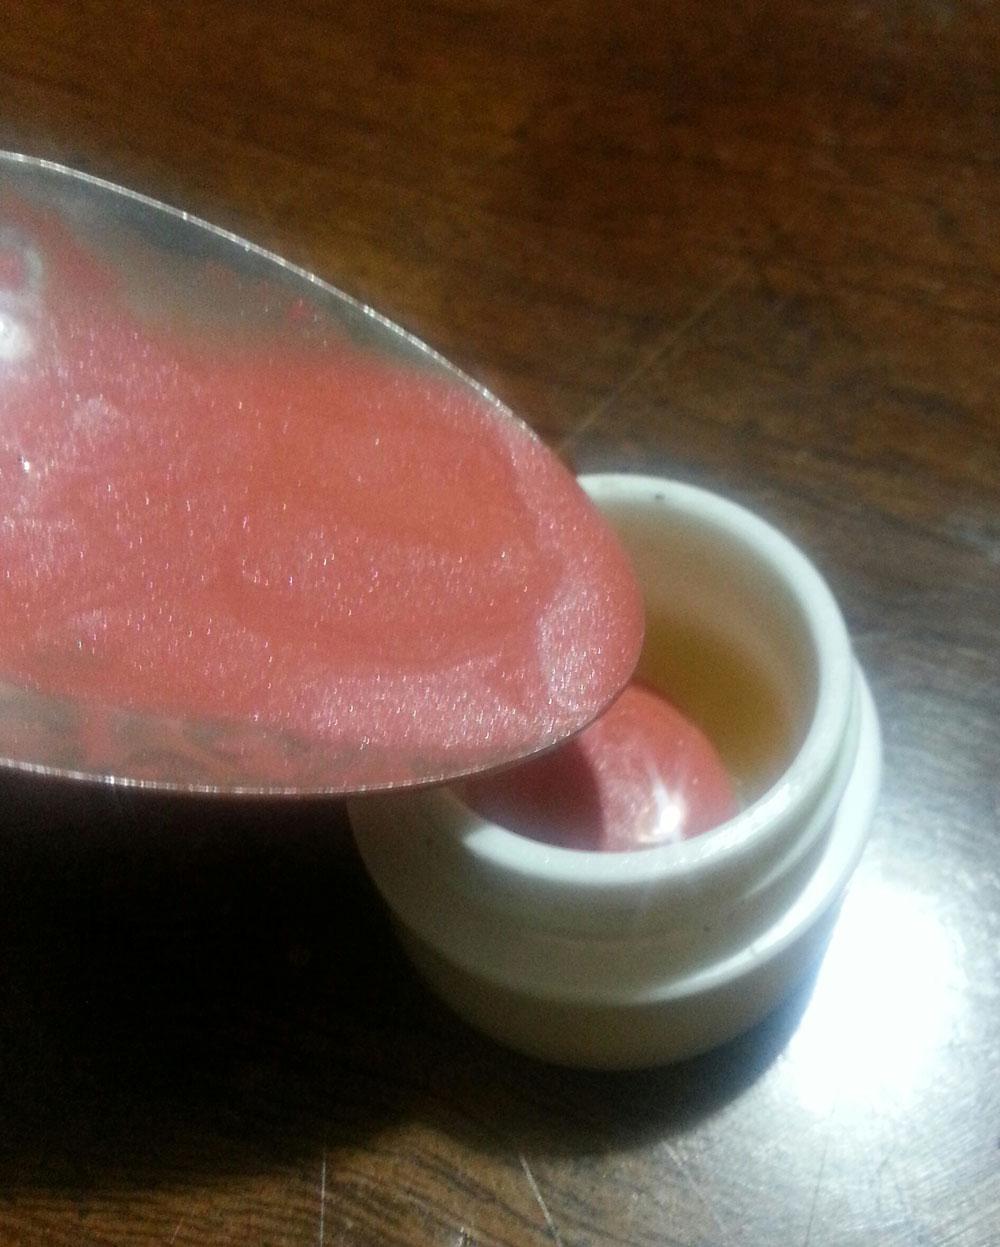
4. After this, wait for about 5 minutes or until your new tinted lip balm has solidified. Then, go ahead and give your new DIY a try!
Completing this project not only satisfied my lips, but it also made me content in that I now have a new product without spending any money at all. All these everyday products were available right at my home, and I’m almost positive you can find them at yours as well. Color for the spring season doesn’t necessarily have to be added to just your wardrobe. This subtle amount of vibrancy ties into the spring trends, while also keeping your lips nourished. This project literally took me less than 10 minutes from start to finish. It was an effective use of my time and will be of yours as well.
By Manal Salim