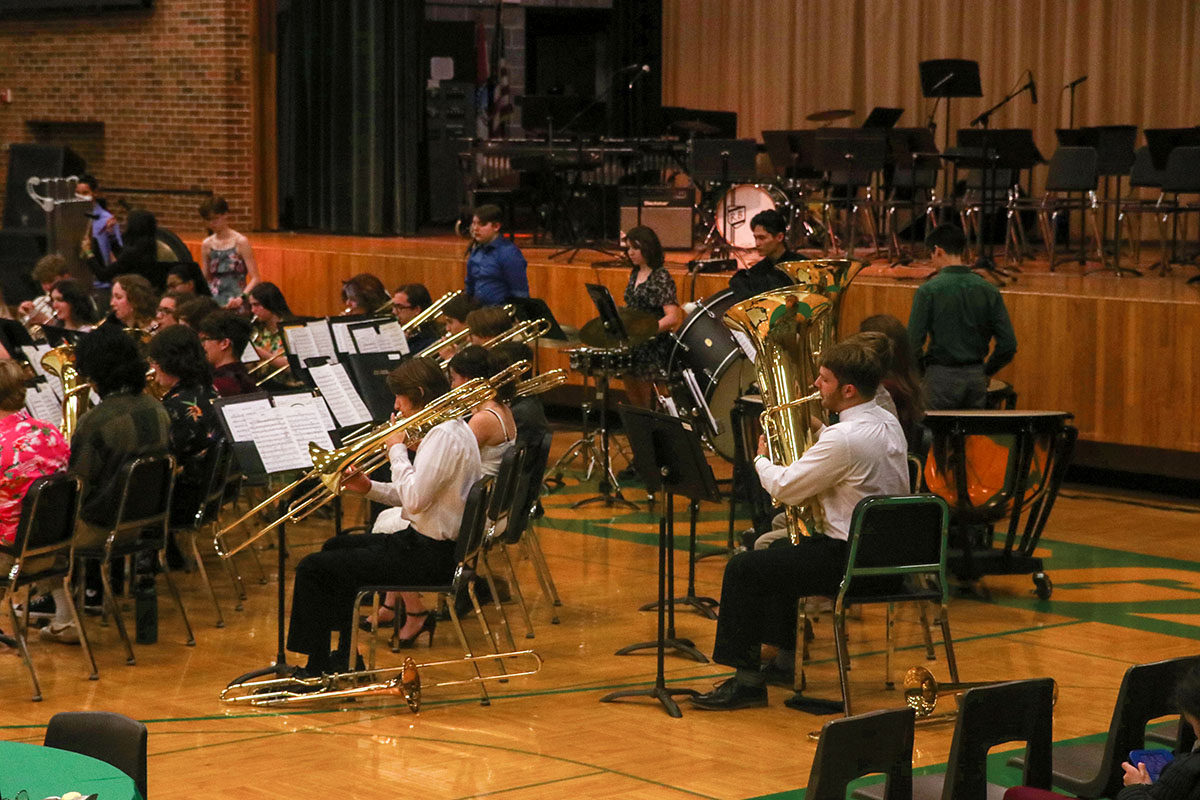


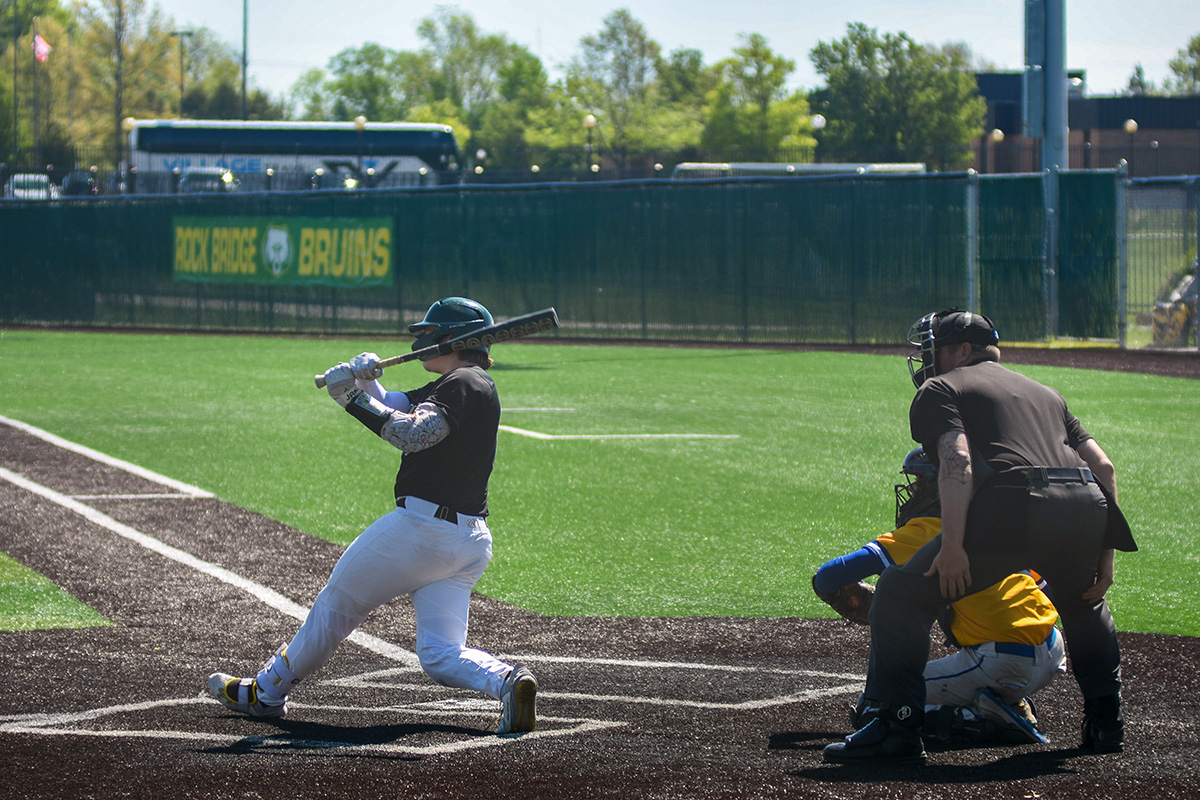


If you have any interest in beginning to learn photography, this blog is for you. We will cover topics such as manual control, reflectors, lenses, sports photography, etc.
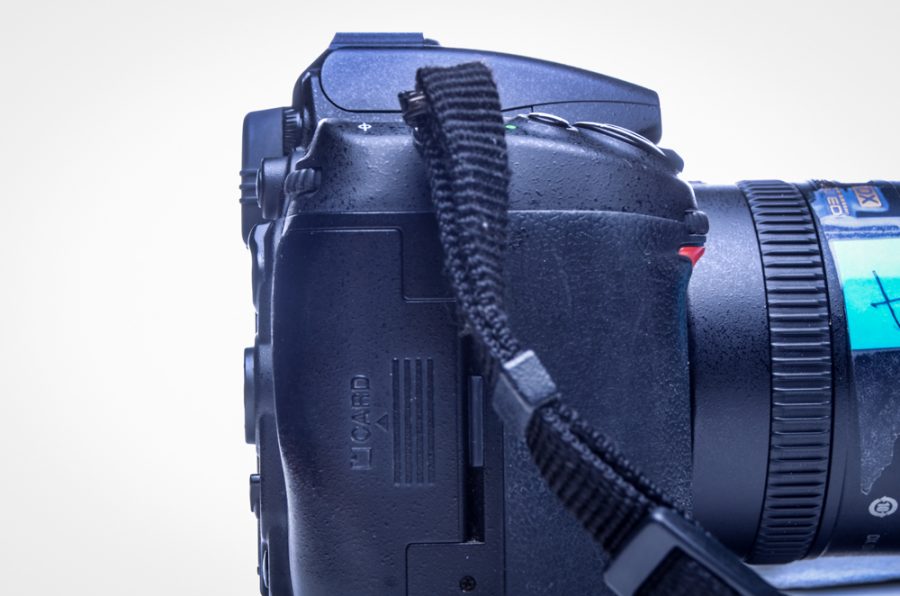
In order to get started, you will need a camera. Whether that is a mirrorless or a digital single lens reflex (DSLR), you will need to have manual control over variables such as white balance, ISO, shutter speed and aperture. If you do not own a camera, but would like to purchase one, I recommend that you go to a camera specialty shop where they allow you to try out all the different cameras available.
Now, there’s what seems to be the age old fight over Nikons vs Canons. You could have an endless discussion of why either one is better, but the most important thing is that you are comfortable with your camera. That is why it is necessary for you to try out cameras in person keeping in mind both brands of camera are capable of capturing amazing photos with the right techniques.
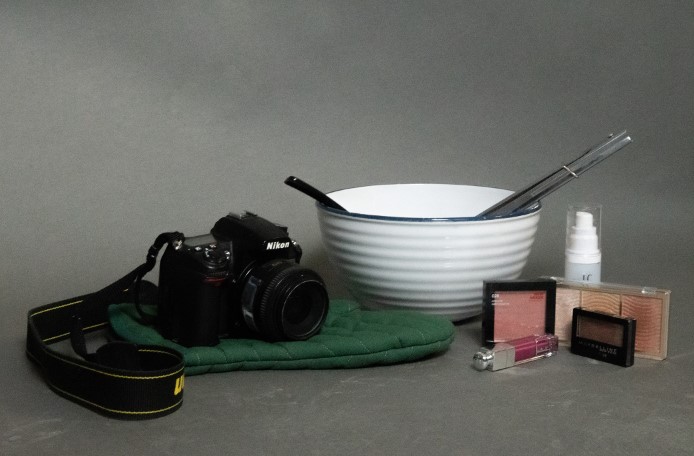
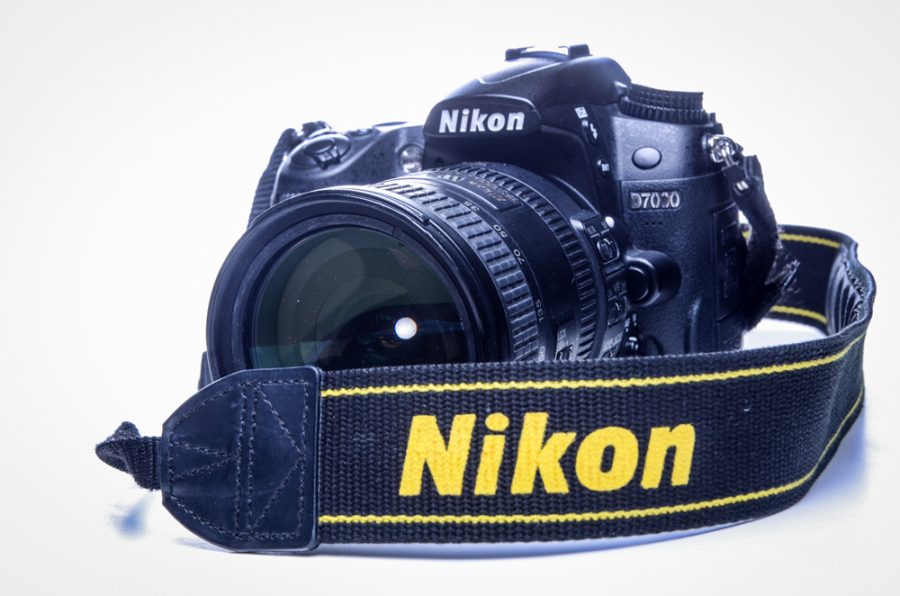
For the purpose of this blog, I will be using a Nikon D7000; therefore, these instructions pertain to the Nikon D7000s series. Other Nikons will have a very similar button layout, otherwise, if you’re using a Canon, Fuji, Sony, etc. then you should be able to find these controls in your manual. As for the overall concepts that will be talked about in later posts, they will not pertain to any certain camera, but I may refer back to this post at times.
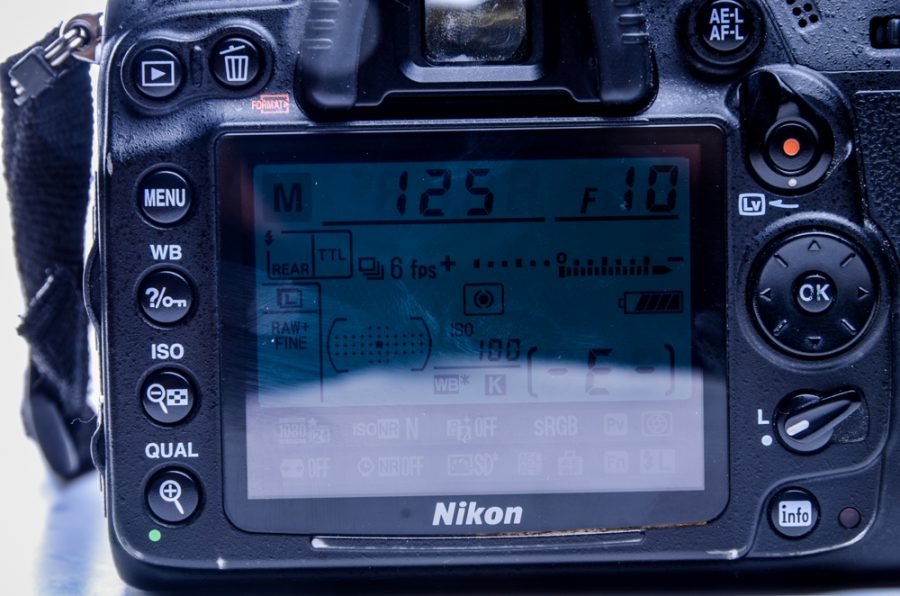
- White Balance – Hold the button labeled “?/(key symbol)” and use the back scroll wheel to change the lighting situation. Also, while holding the white balance button, use the front scroll wheel for a more specific choice in the lighting situation.
- ISO – Hold the button labeled with a negative magnifying glass (directly under the white balance button, and use the back scroll wheel to change the ISO sensitivity.) This will be displayed on the information screen as well as in the top screen next to the shutter button.
- Shutter speed – Use the back scroll wheel to change shutter speed, displayed on the information screen, the top screen, as well as on the bottom black strip in the viewfinder.
- Aperture – Use the front scroll wheel to change aperture, displayed on the information screen, the top screen, as well as on the bottom black strip in the viewfinder.
- Single, Continuous (low), Continuous (high) – Located directly under the model dial, there is a secondary dial. In order to release the dial to allow it to turn, you must hold the small button in the corner while rotating the dial.

- Full Auto – Generally a green camera and/or the word “Auto” in green lettering. This mode allows the camera to make every decision after you press the shutter release button.
- No Flash Auto – Located after the Full Auto mode, this mode is indicated by a flash symbol with a slash through it. This allows you to shoot auto without the camera ever using the flash.
- Aperture Priority – Indicated by an “A” on Nikons and “Av” on Canons. This allows you manual control over everything except for shutter speed.
- Shutter Speed Priority – Indicated by a “S” on Nikons and “Tv” on Canons. This allows you manual control over everything except for aperture.
- Full Manual – Indicated by an “M” on both brands of cameras. This will allow you full manual control of every aspect of taking a photo.
In general, most DSLR photographers use the viewfinder to take photos as it is faster and allows you to burst photos. For this reason, you will need to adjust the viewfinder according to your eyes. All DSLRs have an adjustment knob on the top right of the view finder. While looking through the viewfinder at a focused subject, move this knob until the image is fully focused to your eyes. This is not focusing the lens on subject, it is focusing your eyes on the mirror you are seeing the image through.
Next you will need to know how to focus and zoom using your lens. Zooming using a DSLR lens is known as optical zoom which is different from digital zoom (what most smartphones use). When using optical zoom, you are magnifying the image through a lens, meaning you are just manipulating light, which, unlike digital zoom, will not reduce the quality of the photo.
The zoom ring on a zoom lens is generally the larger of the two rings located on the lens. It is also the closest ring to the camera body. Some lenses, however, cannot zoom — these are known as prime or fixed lenses. These lenses will only have a focus ring.
The focus ring is the ring furthest away from the camera body. If the focus mode of the lens is set to automatic, some lenses will lock the focus ring. When set to manual, the ring will unlock and you will be able to move it freely. In order to change between autofocus and manual focus, there should be a switch on the left side of the lens, close to the camera body that is labeled “A-M”.
Before proceeding to learn manual control which will be covered in the next blog, I recommend you get comfortable shooting in an Automatic mode for a little bit just to get used to your camera and lens.